HOW TO DEVELOP A SELF-PRACTICE?
HOW TO DEVELOP A SELF - PRACTICE ?
Many of my students find self practice rather daunting. People have the illusion that you have to move in a certain way to do yoga. The fundamental importance of our yoga practice is to develop greater awareness of the body and to centre the mind. One of the beauties of being new to yoga and self-practice is that automatically you are more aware of your body as the practice is unfamiliar. In self-practice we have the opportunity to listen to the body more closely and move as the body desires as well as working deeper into areas that need it. Often in class our mind can take over our practice and force our body to do things it may not want to do that day. Being surrounded by other students our egos can take over, so rather than moving intelligently with awareness, we may move with more determination. This will not be the case in every class you take but at some point our ego does creep in.
With self-practice we have the opportunity to listen more closely to our body and work on areas that need strengthen or opening e.g hamstrings, hips, core, breath, backbends, balancing, heart openers etc. We have the chance to listen to the body and target certain areas more mindfully at a pace you wish. You can explore and work deep into your edge, expanding your boundaries and awareness.
Yoga is an exploration of the body and when practising we gain a better understanding of our body and mind through increased awareness.
SELF-PRACTICE
Where to start?
- Purchase a decent mat Yoga Matters sell good, reasonable and non stick mats.
- Invest in blocks, straps and eye pillow (not essential at the beginning but great to have to support and advance your practice).
- Set a side a time that works for you - morning is the best time to do yoga; try and set aside 20 minutes. If morning does not work then allocate another convenient slot.
- If 1 hour feels like a lot then start with 15 minutes and build up to 1 hour.
General plan
STEP 1: Plan a warm up e.g. Child pose (Balasana), cat cow, downwards dog (Adho Mukha Svanasana), rag doll, Mountain Pose (Tadasana). Make sure you take 5 minutes in Childs or Corpse pose at the beginning of the practice to centre the mind and tune into how the body is feeling that day.
STEP 2: Standing poses. Either do 1 pose on each side or start to link 2 or 3 poses e.g. Warrior 2 (Virabhadrasana II), Triangle (Utthita Trikonasana), Extended Side Angle (Utthita Parsvakonasana), Warrior III (Virabhadrasana III). Take Child's pose as often as you like.
STEP 3: Do the same with seated poses e.g. Pigeon (Eka Pada), Head to Knee Forward Bend (Janu Sirsasana), Seated Forward Bend (Paschimottanasana)
STEP 4: Backbends and Inversions. Depending on your practice your backbends and inversions could be restorative or dynamic. To invert you can take legs up the wall or place hips on a bolster and feet to the ceiling. For a backbend Bridge (Setu Bandha Sarvangasana) is great option.
STEP 5: Give yourself time for Savasana (5 minutes or more)
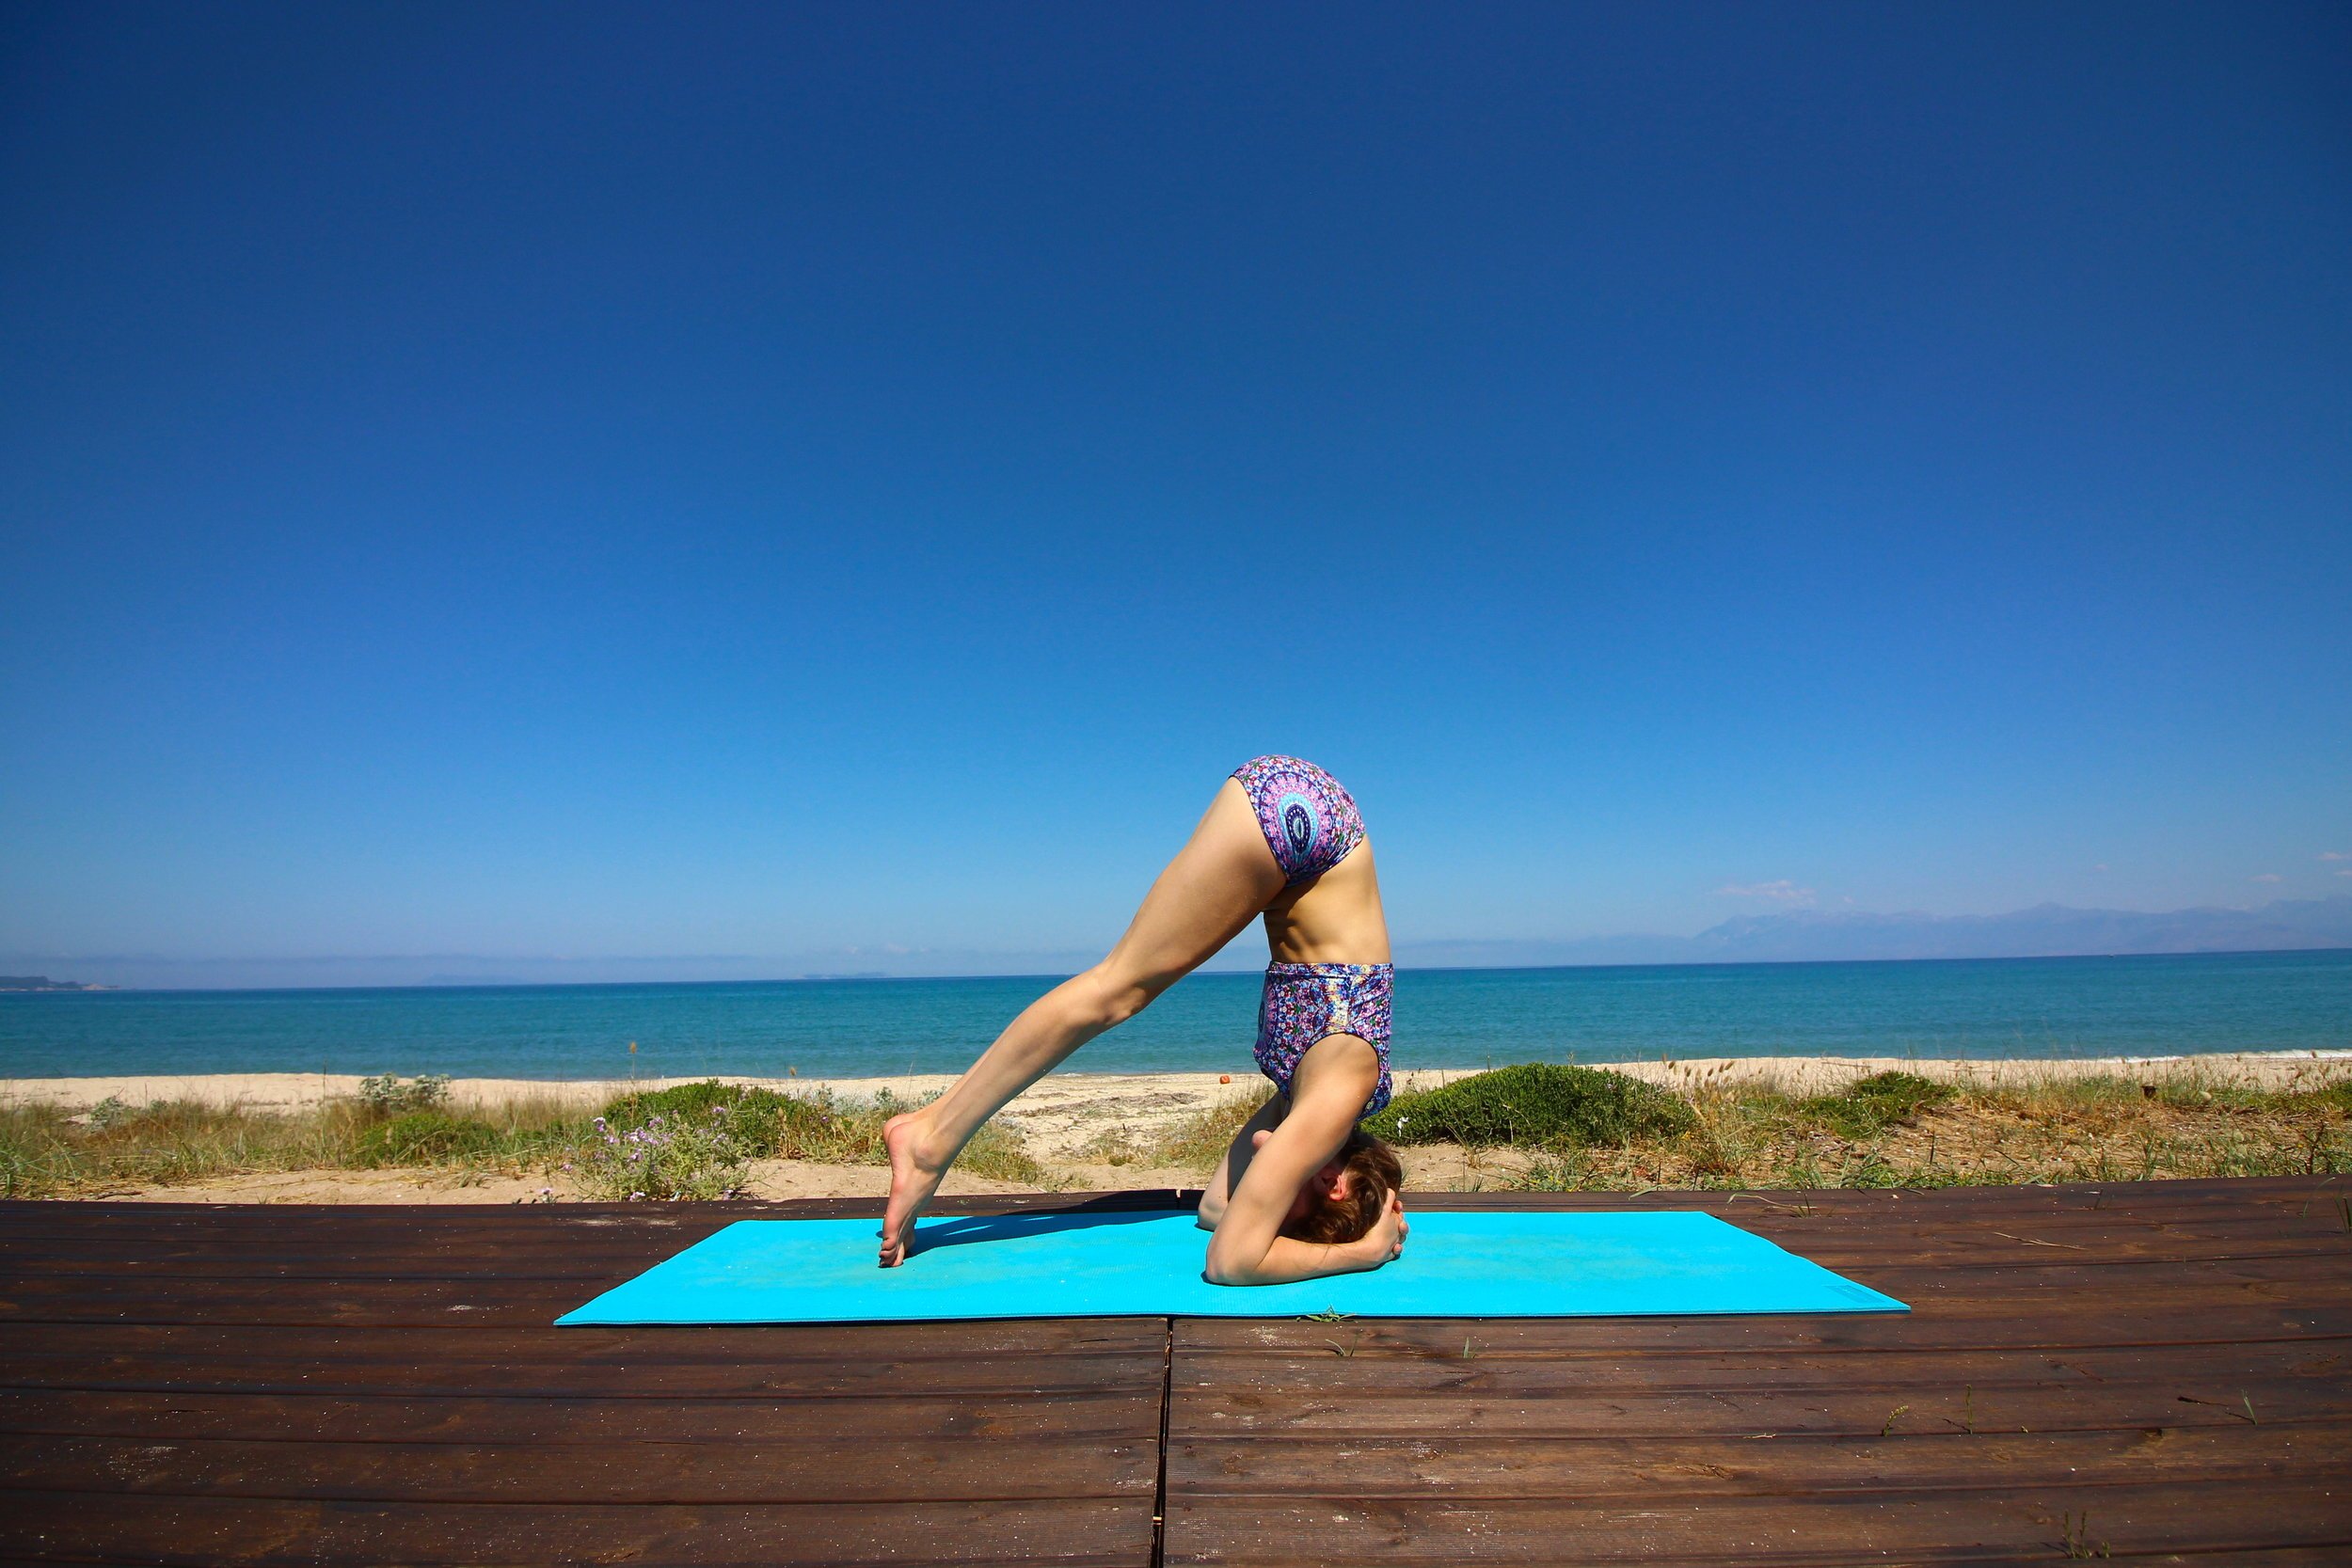
Have some go to poses that you’d like to practice and work on these regularly. You can use your self-practice to learn any poses that you might want a bit more time on e.g. headstand (Sirsasana)
Expanding your practice?
- After attending a class write down 2 or 3 poses and add them to your self practice. This will help build your flow and motivate you.
- Ask your teachers questions and seek advice.
- Follow a couple of online classes to give you inspiration - Yogaglo.com is a great platform.
- The key to self practice is motivation. Set realistic goals and don’t beat yourself up if one week you slip. There is always the next week.
Sanskrit names of poses mentioned above
Childs Pose - Balasana
Downwards Dog - Adho Mukha Svanasana
Mountain Pose - Tadasana
Warrior II - Virabhadrasana II
Warrior III - Virabhadrasana III
Triangle - Utthita Trikonasana
Extended Side Angle - Utthita Parsvakonasana
Pigeon - Eka Pada
Head to Knee Forward Bend - Janu Sirsasana
Bridge - Setu Bandha Sarvangasana
Headstand - Sirsasana
Corpse Pose - Savasana


